
Progression
Palworld 1.0 Progression Route — First Hours to Towers
A practical 1.0 route: capture bonus, first bases, Capture Power, then towers without wasting spheres or cake.
Start here on a fresh 1.0 world or after returning from Early Access. The route prioritizes fast XP, steady ore production, and enough Capture Power to stop wasting spheres before tower attempts.
If you have already cleared the early islands, skip to Phase 2 for the ore base and Capture Power priorities, or Phase 3 for tower preparation.

Phase 1 — Catch for XP, not for a perfect box
Your first job is levels and a usable starter crew. Walk a small loop of easy species and finish the capture bonus on each one before you move on. Aiming a sphere at a wild pal still shows how many you already own — stop at five and rotate.

- Build a first base near early nodes and a Statue of Power path you will reuse.
- Craft basic spheres and keep a Ring of Mercy once you start overkilling targets.
- Grab an early flamethrower-style partner such as Foxparks for camp clearing.
- Clear your first comfortable tower only when food, ammo, and a mount are stable.
Phase 2 — Second base and Capture Power
Once base level allows a second Palbox, plant it on dense ore. Staff it with Mining-capable workers, a hot spring, and enough beds that SAN does not collapse overnight. This base funds spheres, ammo, and the boring materials every tower run burns.
In parallel, pick up Pal Effigies while you explore and offer them at a Statue of Power. Early ranks are cheap. The capture-rate compounding matters more in mid-game than another fashion saddle.
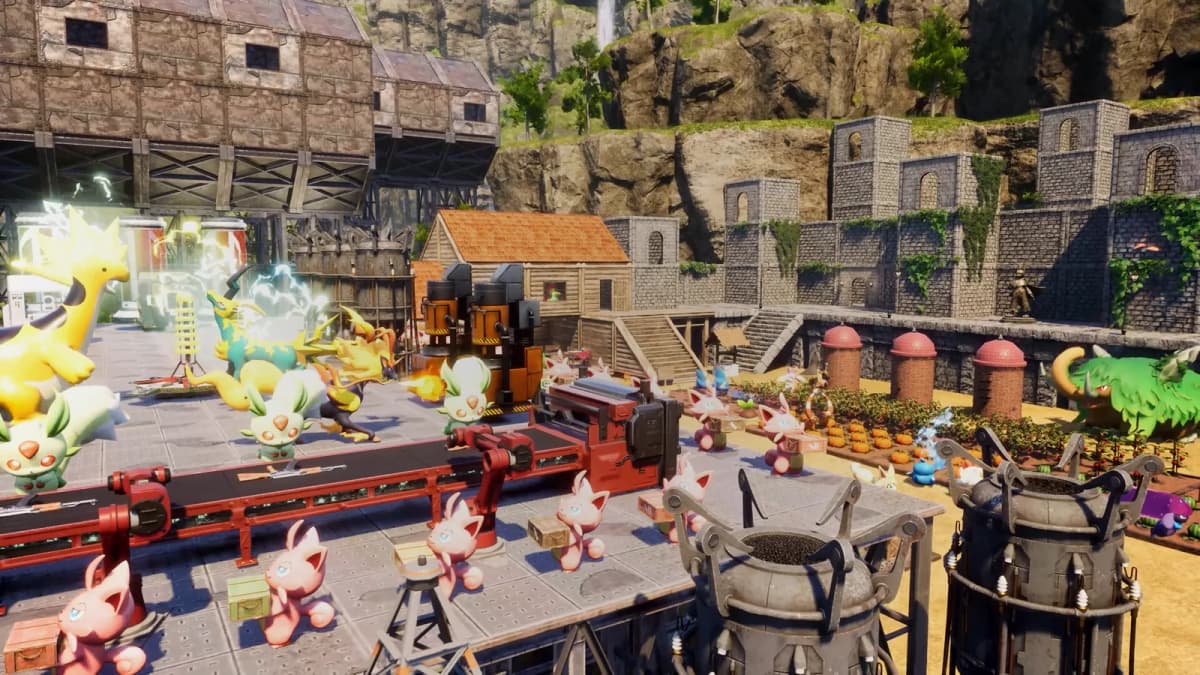
- Ore base first, fancy decoration later
- Keep a travel mount on the party even if it is not your top DPS
- Collect effigies along routes you already travel; save full biome sweeps for when your early ranks slow down
Phase 3 — Towers as timed fights
Normal towers are no longer ten-minute endurance tests. You have five minutes. Build for continuous damage, clean dodges, and element matchups — stall teams that only outlast the clock will fail more often.

Practical tower prep checklist
| Before you enter | Why it matters |
|---|---|
| Food and spare ammo | Deaths inside the timer waste the whole attempt |
| Element coverage for the boss | Neutral parties take longer and burn spheres afterward |
| Capture Power rank reviewed | Post-fight catches and nearby alphas get cheaper |
| One mobility pal | Faster repositioning helps you avoid area attacks |
Leave Hard Mode until your normal tower route and combat party are complete. Access is tied to defeating the Azure Covenant Tower boss, so there is no benefit in preparing for it early.
Prepare a five-pal tower partyCheck element coverage and compare proven team setupsWhen breeding is worth the cake
Start breeding after your ore loop is stable. Version 1.0 changed many parent combinations, so old Early Access recipes are unreliable. Decide the job first — base worker, mount, or tower specialist — then reverse-search valid parents.

Pitfalls that waste evenings
- Chasing every Alpha before Capture Power ranks are online
- Building three decorative bases and zero mining throughput
- Ignoring the five-catch bonus and wondering why levels crawl
- Trusting a pre-1.0 breeding spreadsheet
- Entering towers hungry, under-ammoed, or with a mono-element party into a bad matchup
What to do next
- Raise Capture Power with Pal Effigies while you explore new regions.
- Start a breeding chain only after choosing a specific target pal.
- Check combat and worker rankings before spending cake on a long chain.
Guide FAQ
What changed for progression in Palworld 1.0?
Capture bonus finishes after five catches of a species (not twelve), tower fights run on a five-minute timer, and Lifmunk Effigies were broadened into Pal Effigies that upgrade player stats.
Should I rush towers first?
No. Clear one early tower when you are geared for it, but stack Capture Power and a mining base before you burn high-tier spheres on mid and late towers.
When should I start breeding?
Once you have a stable ore base and a combat core. Use the breeding calculator to target workers or fighters instead of rolling random eggs.
Do I need Hard Mode towers for normal progression?
Not for your first clear loop. Hard Mode access is gated behind the Azure Covenant Tower boss — finish the normal tower route first.
Where do I check which pals to raise next?
Use the role tier lists for combat, work, and mounts, then open Team Builder when you are ready to lock a party of five.